Learn how to emulate orthochromatic film in Davinci Resolve.
In this tutorial we'll emulate the orthochromatic film look in Davinci Resolve, but you can use any coloring suite since the steps are very simple.
Emulate Orthochromatic Film
This is how you emulate orthochromatic in Davinci Resolve:
Step 1: RGB Mixer
The first step is to make our footage monochrome and to lower the red channel specifically. To do this, we add a new node and open up the RGB Mixer. Inside the RGB Mixer, check the Monochrome checkbox and lower the Red Output to your liking; about -0.30 is usually nice.
Step 2: Contrast and Curves
Add a new node (Alt+S) for adjusting the contrast. You can use the default Contrast and Pivot settings to adjust your contrast, or use the Curves method instead if you want a little bit more control.
Step 3: Grain
Finally, add one more node and use your favorite tool inside Davinci Resolve to add grain. The most commonly used one is Resolve's own Film Grain OFX plugin, while others use Dehancer (get 10% off with code INDIE) or FilmConvert for different grain types.
Orthochromatic vs panchromatic
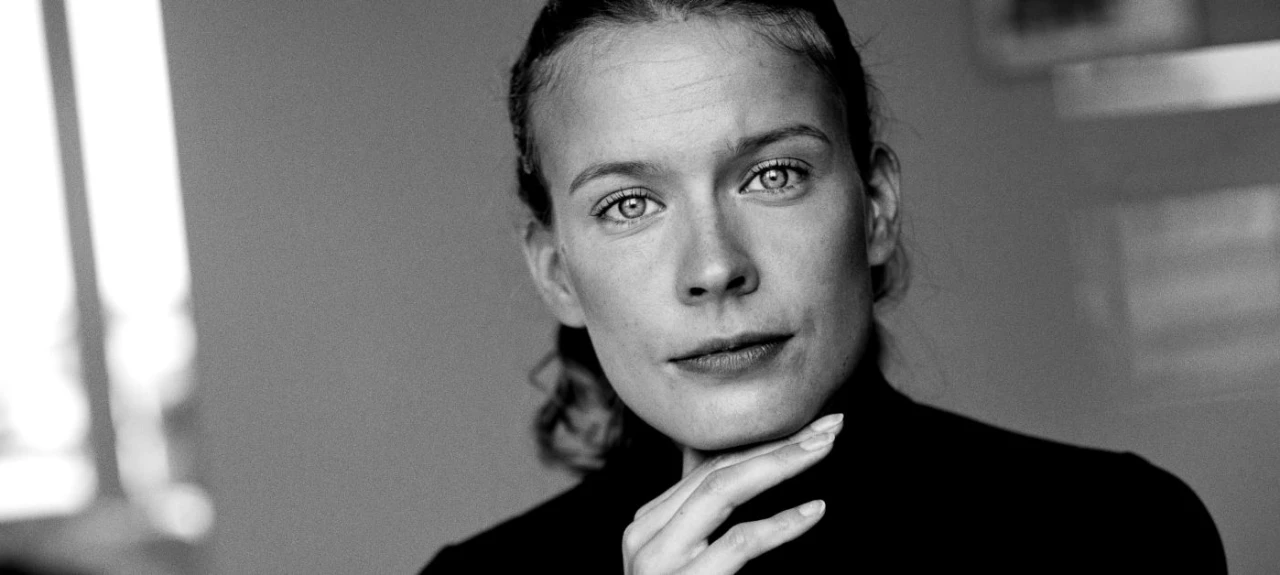
While panchromatic film is the most commonly used black and white film since it sees a wide spectrum of light, orthochromatic film mostly sees blue light and renders reds much darker, resulting in darker skintones and a more dramatic film look.
The orthochromatic film look was used in the indie hit The Lighthouse.