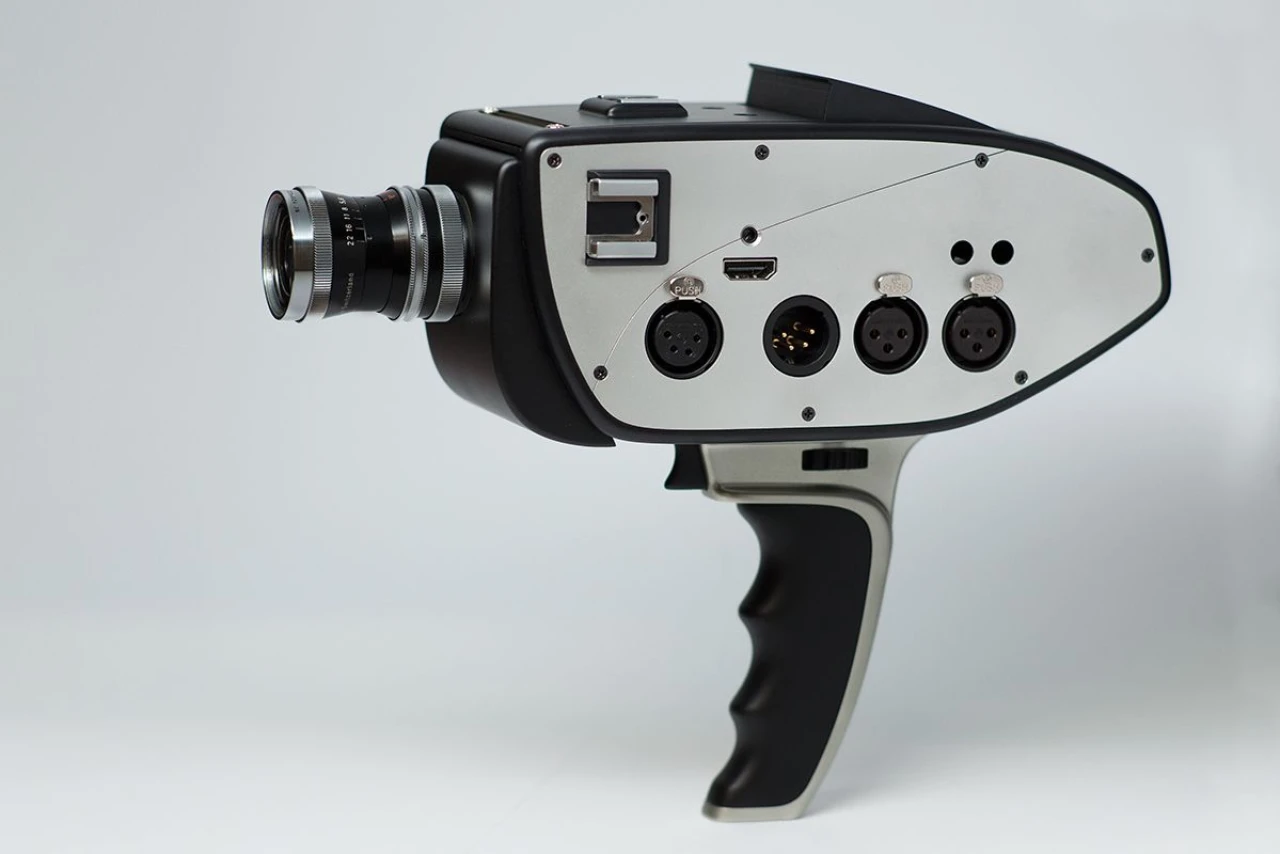
The D16 is a popular retro-feel camera which features both a global shutter and 12-bit RAW capabilities. This is how to get the most out of the camera using DaVinci Resolve.
The credit for the original text and the LUT itself goes to Eddie Barton.
Following the release of firmware 1.5 “Elf” there hasn’t been any support in any major software for using Bolex Log with DNGs from your D16. This is going to be a fairly quick article showing how to use Bolex Log with Davinci Resolve. This article assumes you already have a basic knowledge of Resolve and can get to the point of having your timeline setup and ready for grading/dailies etc. I’ll include the math I used at the end of the article for those interested.
First off you’re going to download this LUT here (or in the bottom of this post). You’ll get a 442 MB .cube file. This LUT is much larger than your average 3D LUT (2563 vs 653). This is because we have a large range of values for BT.709 input (-0.05, 4.48), and we want to do precise color space transforms. So I used the maximum possible size according to the cube LUT spec. This reduces the amount of interpolation error and Resolve has no performance hit using this larger LUT.
Once the download is finished, copy the LUT into Resolve's LUT folder. You find it by opening the menu and selecting the following:
- Project Settings
- Color Management
- Open LUT Folder
Now, create a folder named "Digital Bolex" and copy the LUT into this new folder. Click Update Lists in order to update the LUT list.
Camera Raw
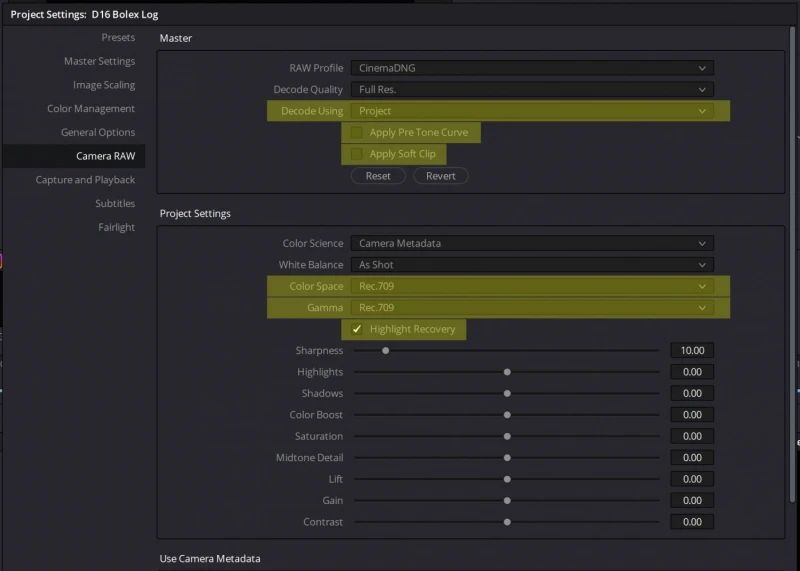
After that you want to make sure you have your Camera Raw settings done properly. First, make sure you’re using Rec. 709 for both color space and gamma. Some of you are probably wondering “why use Rec. 709? I thought Rec. 709 loses image data/detail. Why not BMD Film?”
Well, 709 is the default color space option. The less fiddling with controls you have to do, the better. And you would be correct about 709 losing information if it were encoded to a file already. But because the DNG is transformed to 709 in Resolve’s unclipped floating point engine, we can recover a perfect linear image because we know 709’s inverse function and its primaries. Which brings us to BMD Film. BMD didn’t publish any white paper on BMD Film at all. So we have no idea how to reverse the curve or the gamut.
Now that we’re past that, we need to make sure that highlight recovery is enabled so we can get extra goodness from our unclipped channel highlights. Make sure not to use the Pre Tone Curve or Soft Clip options. They don’t help us here at all and they change the underlying linear image.
With these settings you’re free to change your white balance and everything on the clip level as well in the timeline.
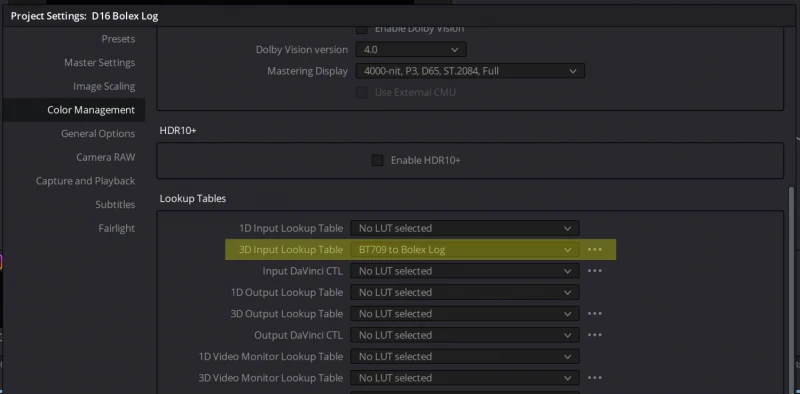
Now that our CinemaDNG settings are done we can actually get to using the LUT. In a project where you have nothing but D16 footage, you can just set the BT.709 to Bolex Log LUT as the 3D Input LUT under Color Management tab.
Once that’s done, you should see all of the detail that your D16 capture come back in range. Now you’re ready to grade. If you end up rendering out the Bolex Log footage but would like a way to reverse the transform for whatever reason, you can use the function and matrix available in the Bolex Log & Wide Gamut RGB Technical Summary.
Have fun getting the most from your D16!
Math Conversion
The math of the LUT is divided into three steps; BT.709 reversion, gamut conversion and Bolex Log encoding.
1. BT.709 Reversion
The first step is reversing the BT.709 curve:
if (input[i] < 0.081)
lin[i] = input[i] / 4.5;
else
lin[i] = pow((input[i] + 0.099) / 1.099, 1.0 / 0.45);
2. Convert the gamuts
Once linearized we can convert the gamuts. I pre-calculated the matrix to convert the 709 gamut to Bolex Wide Gamut. Instead of using conventional 3×3 3×1 matrix multiplication to convert the RGB values, I used the method described by Jon McElvain and Walter Gish of Dolby Labs. This minimizes color errors as we get closer to the boundaries of the gamuts.
// Convert gamut
double mat[9] = {
0.6537569872724, 0.2676207478388, 0.0787012220866,
0.0682990061249, 0.8001173304931, 0.1315446060485,
0.0125090201694, 0.0773426564045, 0.8250305747061
};
double sigma = lin[0] + lin[1] + lin[2];
double p = lin[0] / sigma;
double q = lin[1] / sigma;
value[0] = ((mat[0] - mat[2]) * p + (mat[1] - mat[2]) * q + mat[2]) * sigma; // red
value[1] = ((mat[3] - mat[5]) * p + (mat[4] - mat[5]) * q + mat[5]) * sigma; // green
value[2] = ((mat[6] - mat[8]) * p + (mat[7] - mat[8]) * q + mat[8]) * sigma; // blue
3. Encode to Bolex Log
Now that gamut conversion is done, we can take our wide gamut, scene-referred linear values and encode them to Bolex Log.
if (value[i] >= 0.0149480)
out[i] = 0.2756705 * log10(5.5555556 * value[i] + 0.0280665) + 0.4150634;
else
out[i] = 5.9861078 * value[i] + 0.0625265;
Download Bolex Log LUT
The LUT is a 442 MB large LUT file.